PRO: Employee eHire Walk-through
Downloadable PDF (Attached)
Welcome to the guHRoo PEO. We are excited for you in your new role. Included in this pdf. document is a step-by-step process to onboard as a new employee with your company and the PEO
FIRST: You will have received two (2) emails.
An email from alerts@prosoftware.com that provides a link to your HRIS system and PIN code:
Subject: Welcome to eHire
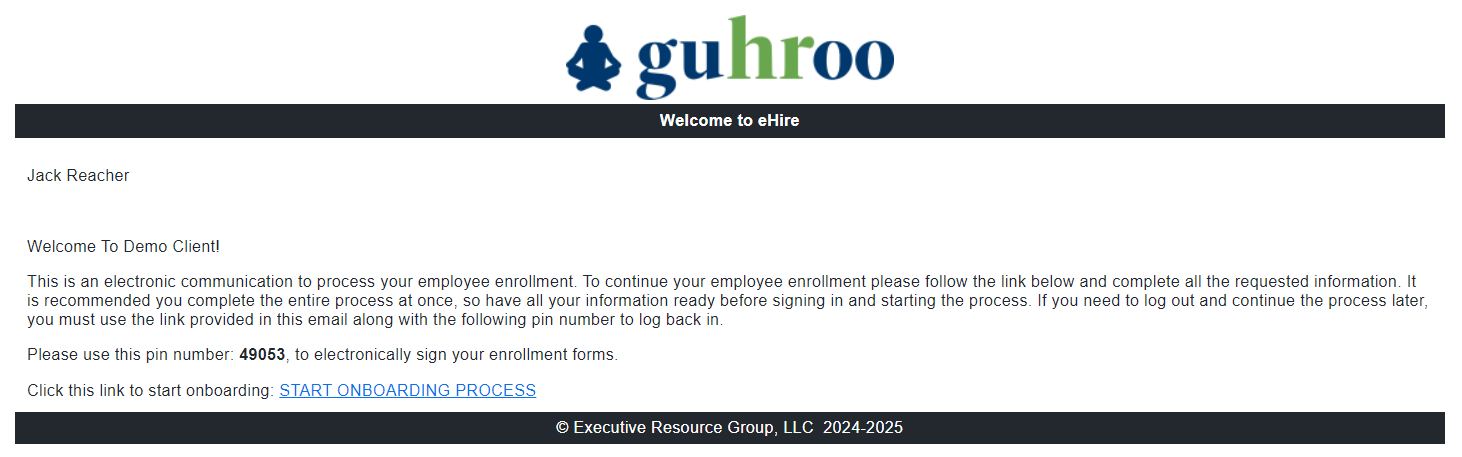
An email from support@guhroo.co that provide details what is needed to complete your onboarding process:
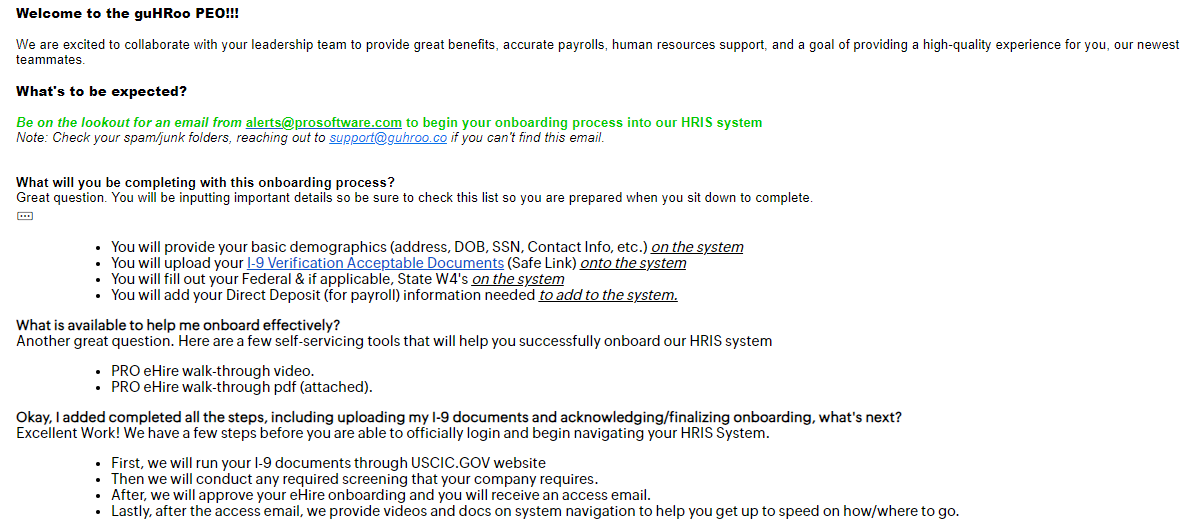
It’s time to start onboarding so you can begin your new adventure!!!
ONBOARDING ONTO THE PRO HRIS SYSTEM…
Congratulations on your new role. It’s time to start onboarding onto the HRIS system that will house all of the HR-based functions while in your new role.
Using the link from alerts@prosoftware.com, select the link: Start Your Onboarding Process.
Enter email address that received the invitation
Enter the PIN number provided on the initial invitation
Select “LOGIN”

“Welcome To” Screen
Select “Next”
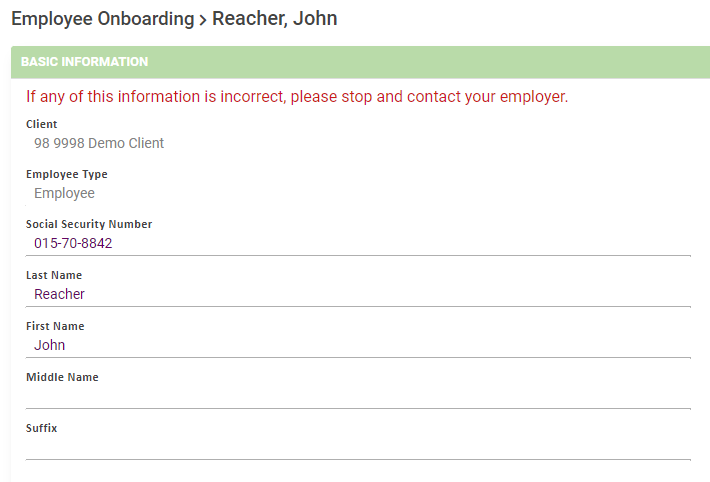
“Basic Information” Screen
Social Security Number
Verify/Correct Last (Legal) Name
Verify/Correct First (Legal) Name
Optional: Add Middle Name
Optional: Add Suffix
Select “Next”
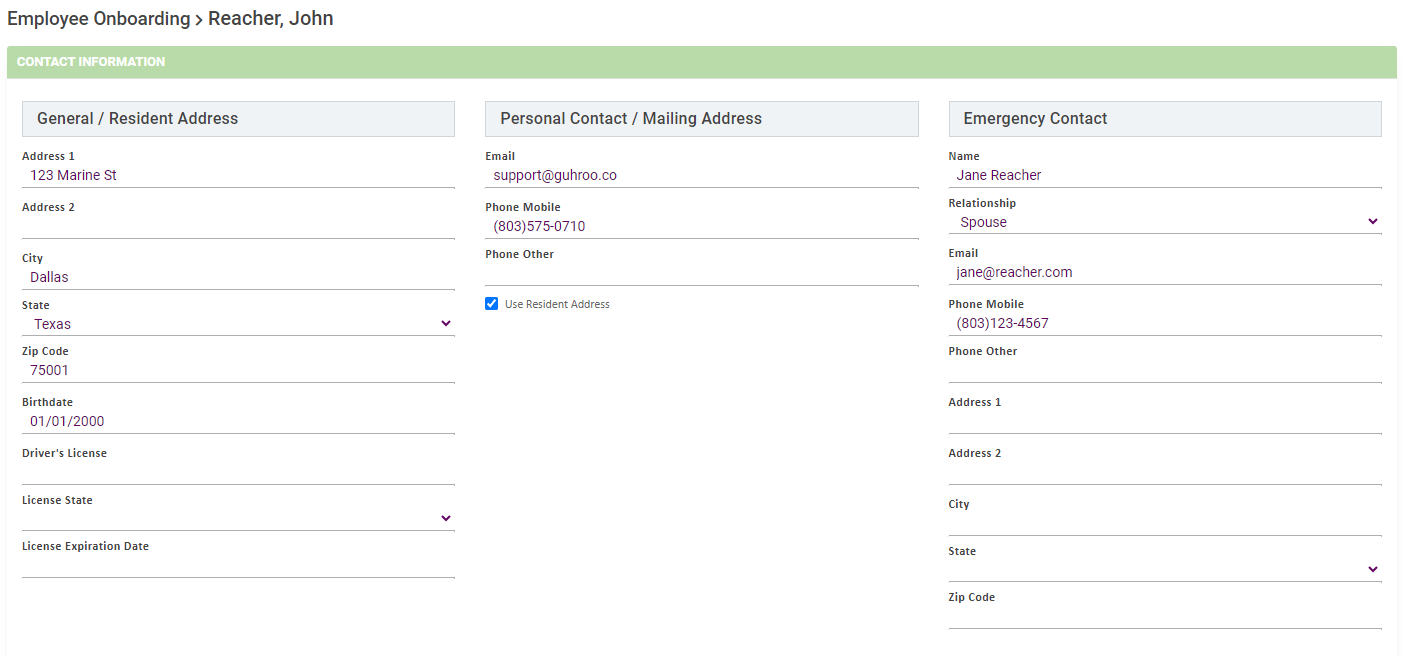
“Contact Information” Screen
General/Resident Information
Address 1
Address 2 (if applicable)
City, State, Zip
Birthdate
Personal contact/Mailing address
Email
Phone Mobile
Emergency Contact
Name
Relationship
Email Address
Phone Number
Select “Next”
“Equal Employment Opportunity” Screen
Gender
Marital Status
Ethnic Group
Optional Check boxes”
Select “Next

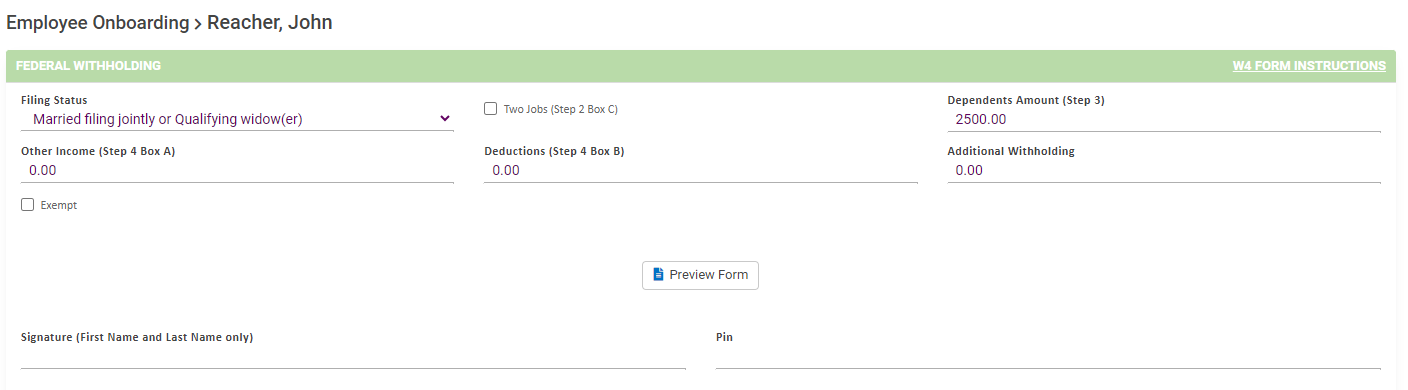
“Federal Withholding” Screen
Filing Status
Optional: Two Jobs (Step 2, Box C)
Optional: Dependents Amounts (Step 3)*
* Note: W4 Form Instructions link available on site to determine dollar amount (no longer #of dependents)
Optional: Other Income (Step 4, Box A)
Optional: Deductions (Step 4, Box B)
Optional: Additional Withholding.**
** Note: This amount is in addition to traditional federal withholdings, per pay period.
Signature (First Last Name) & PIN
Select “Next”
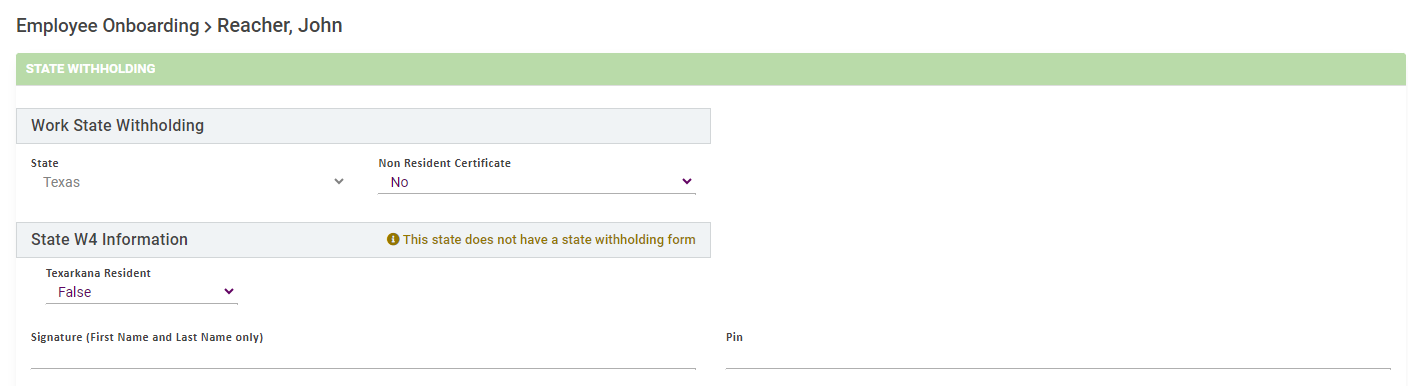
“State/Local Withholding” Screen (when applicable; automatically added based upon zip code)
Non Resident Certificate: Default to “No”, change if necessary
Additional fields populated based upon state/local requirements: Complete as needed.
Signature (First, Last Name) & PIN
Select “Next”
Example:
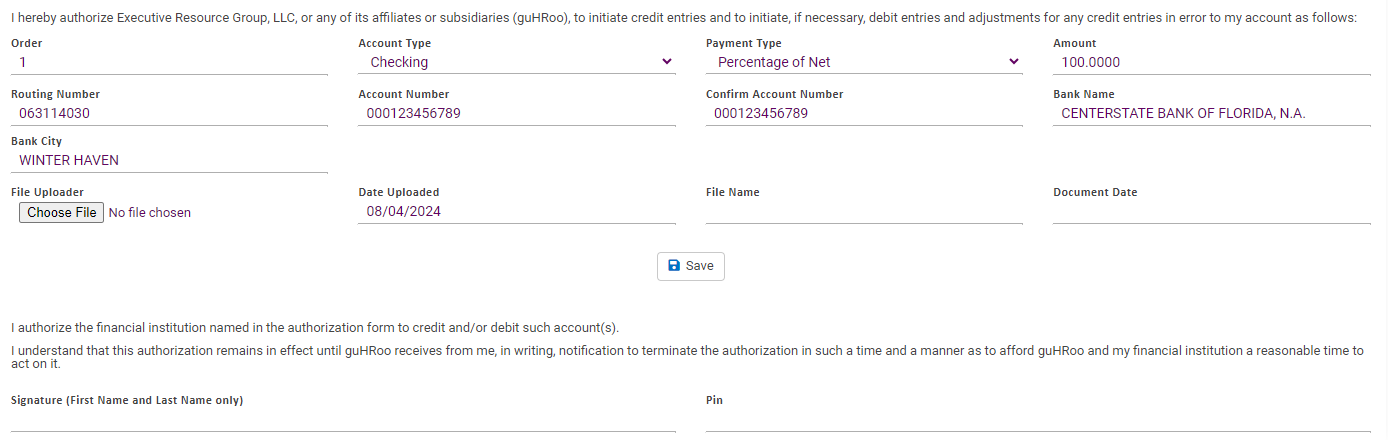
“Direct Deposit” Screen
Order: Defaults to #1 (increments when “+ Add New Direct Deposits” selected)
Account Type: (Checking/Savings)\
Payment Type: Percentage of Net
Amount: defaults to 100%, elect less than if selecting multiple accounts to apply monies
Routing Number
Account Number
Confirm Account Number
Bank Name: (Autopopulates when selecting routing number)
Bank City: (Auto-populates when selecting routing number)
Signature (First, Last) and PIN
Select “Next”
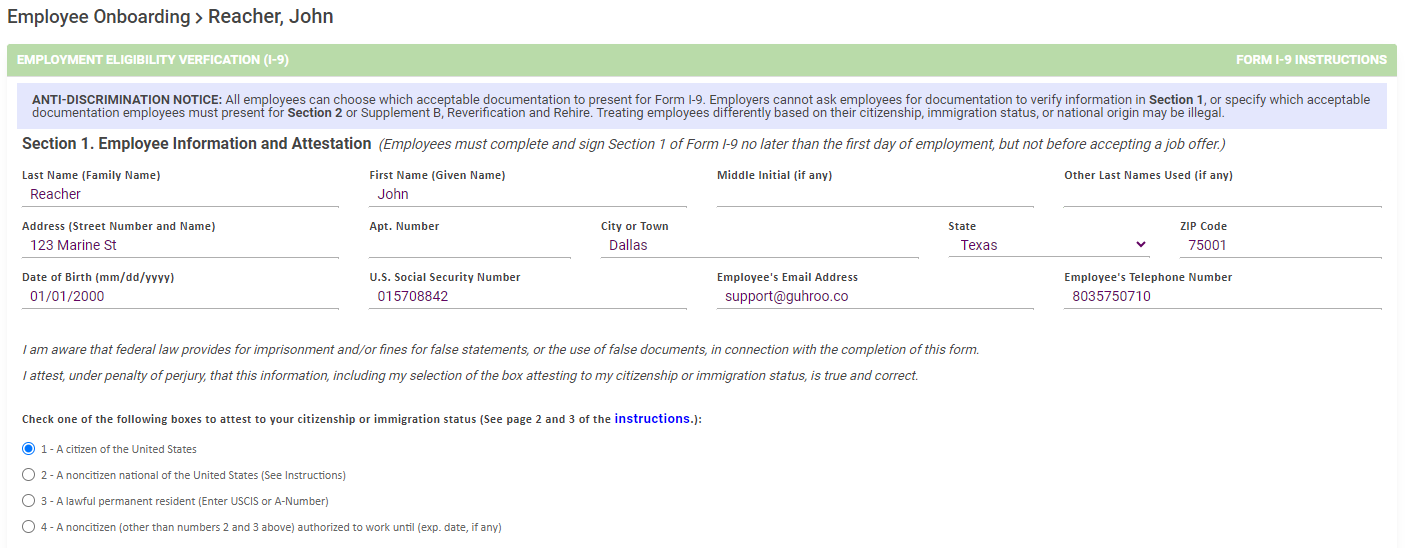
“Employment Eligibility Verification (I-9)” Screen
Last Name (Family Name)
First Name (Given Name)
Middle Initial (if any)
Other Last Names (if any)
Address (Street Number and Name)
Apt. Number (if any)
City or Town, State, Zip
DOB, SSN
Email, Phone Number
Check one of the boxes attesting to citizenship or immigration status
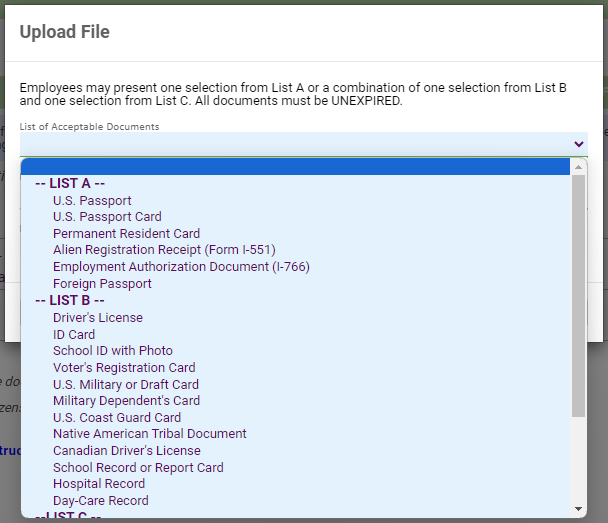
Upload File(s)
Select “List of Acceptable Documents”
Select “Choose File”
If List A, only provide one document
If List B(1), and List C(1), provide two documents…
Select “Upload”
Click option for “Preparer and/or Translator Certification”
Signature (First and Last Name), and PIN
Select “Next”
“Finish” Screen
If Client-specific documents, scroll down and select/fill any “fillable fields”
Signature (First and Last) and PIN
Select “Finish”
PRO NOTIFICATION OF COMPLETION:

Related Articles
PRO: Walk-through of Employee Profile Tabs
The video linked below will help you navigate the profile tabs found under your main home page or Dashboard. Loom Video: PRO: Employee Profile Tabs: Walk-throughPRO: How do complete eHire (onboard) in PRO?
Welcome to guHRoo PEO and congratulations on your new role! This guide will walk you through each step of the PRO Software onboarding process, from accessing your initial onboarding emails to submitting required forms and documentation. Once ...Pro-Software Initial Onboarding (Logging in for the first time)
The Pro Software Employee Self-Service Portal provides a user-friendly, intuitive interface that allows you to keep track of your Employee information—including employment and pay details, tax setup, deductions, etc.—as well as allowing you to view ...PRO: How to Navigate the Employee Dashboard
Welcome to the Pro Software employee dashboard. This article will cover what you have access to from the employee dashboard. Please note the dashboard has been customized to each individual client so the widgets available may not display or be in the ...PRO: How to Access my Account in PRO
Introduction: Whether you're a new hire or an existing employee who needs to reset your username or password, accessing PRO Software is straightforward. This guide explains how to request access, reset login credentials, and set up text messaging for ...